How to Perform a Gas Tightness Test in the UK: A Practical Guide
TL;DR: A gas tightness test proves a section of gas installation holds pressure within permitted limits. On a winter emergency call-out — heating off, a gas valve or fan just replaced, and more jobs to reach before dark — the sequence is: isolate, let-by test the ECV at 7–10 mbar, raise to the 20–21 mbar tightness test pressure, allow 1 minute to stabilise, then a 2-minute test, and judge the drop against IGEM/UP/1B. A digital manometer with hoses lets you read millibars directly and HOLD the value in a tight boiler cupboard, so you can recommission the same day.
Key takeaways
- A gas tightness test is a quantified pressure check, not a visual or sniff check.
- Natural gas is tested at 20–21 mbar for 2 minutes after a 1-minute stabilisation, following a 7–10 mbar let-by test of the ECV.
- Under IGEM/UP/1B Edition 4 (mandatory from 1 October 2026) the permissible drop is set by Installation Volume (IV), not meter size.
- You need a low-pressure manometer with fine resolution, hoses and a valid test point — resolution matters because an electronic gauge's "perceptible movement" threshold is just 0.2 mbar.
What is a gas tightness test?
A gas tightness test verifies that a section of gas installation does not leak above permitted levels. You isolate the pipework, bring it to a defined test pressure, allow a stabilisation period, then monitor the pressure change over a set test duration. The allowable drop depends on the installation volume, the fuel gas and the applicable standard. It is a measured result you can record and defend — not a visual inspection.
When is a tightness test required?
- New gas pipework before it is made live
- After alteration or repair to existing pipework
- Recommissioning after an appliance, gas valve or fan replacement
- Annual landlord gas safety checks (CP12) where indicated
- Investigating a suspected leak or abnormal consumption
On an emergency job the sticking point is often a missing or inaccessible test point: without one you cannot get a meaningful reading, and installing a test point becomes the first task before you can recommission.
Equipment you need
1. A low-pressure manometer
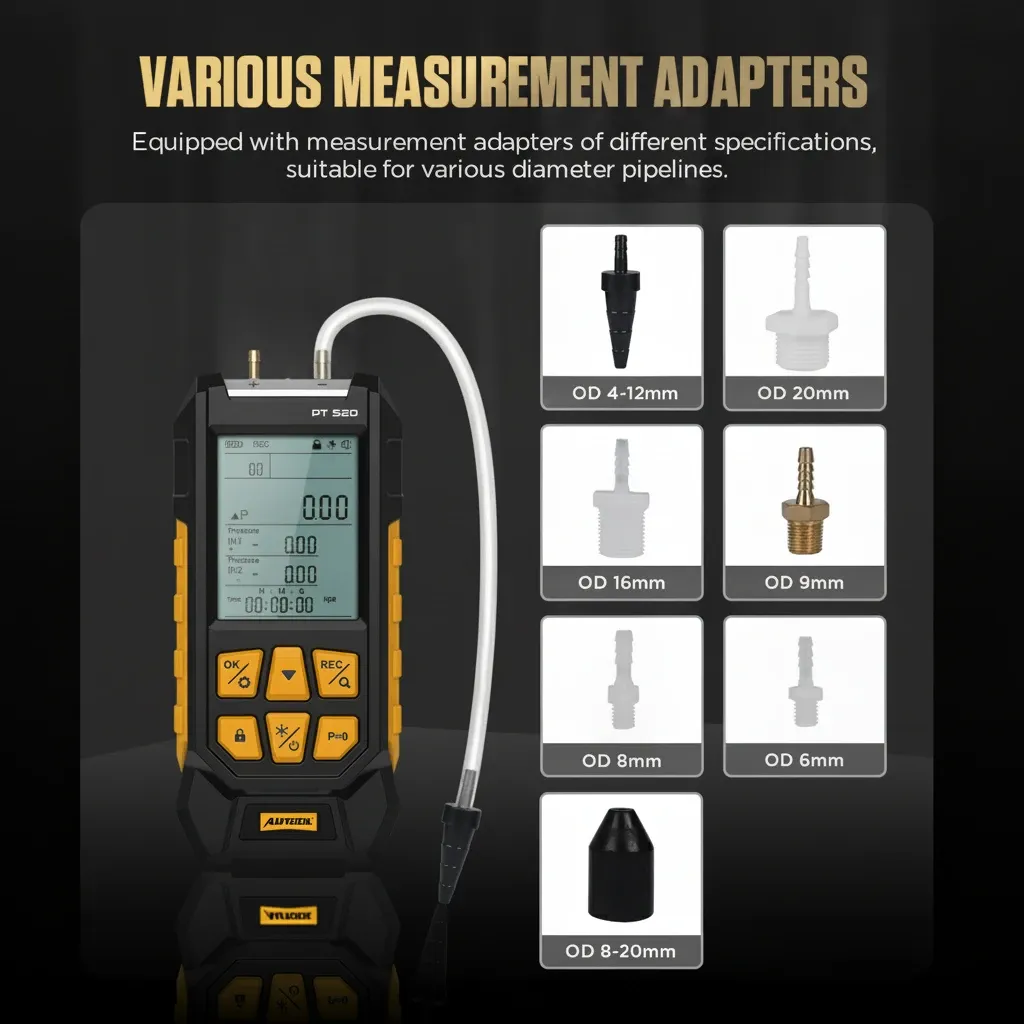
You need an instrument that reads low pressure accurately with good resolution. A digital differential manometer is the practical choice: clear numbers, direct millibar readings and easy recording. The ManometerGas digital gas manometer covers a −100 to 200 kPa range with ±0.3% FS accuracy and ships with the silicone hose and metal fittings you need — so on an emergency call-out you are not hunting for an adaptor. Its digital display avoids the parallax errors of a dial gauge in a dim cupboard, and HOLD lets you freeze the reading while your hand is still behind the boiler.
2. Hoses and connectors
Use hoses rated for gas pressure testing and check them often — a perished hose end is a classic source of a false "fail", because the leak is in your kit, not the installation.
3. A valid test point
You need access to an appropriate test point on the meter installation or appliance. If a boiler has none, fitting one is legitimate work that must be explained to the customer before you start.
Step-by-step tightness test procedure
Important: This is general guidance. Always follow the current procedure and pass/fail criteria in IGEM/UP/1B and your instrument's instructions. Note that Edition 4 (published March 2026) becomes mandatory on 1 October 2026 and changes how the permissible drop is calculated.
Step 1: Risk assessment and isolation
Confirm the area is safe, ventilate, and have gas detection to hand. Isolate the section to be tested and make sure no appliance is calling for gas — even a small burner demand can mask a leak.
Step 2: Let-by test the ECV
Connect the manometer at the test point, purge air and ZERO the instrument. Carry out the let-by test on the Emergency Control Valve at a pressure of 7–10 mbar for one minute to confirm the valve is sealing. If it lets by, follow the reporting route in the standard before going further.
Step 3: Pressurise to the tightness test pressure and stabilise
Raise the installation to the natural-gas tightness test pressure of 20–21 mbar (a minimum of 18 mbar is permitted where 20 cannot be achieved). Allow one minute of stabilisation — do not start timing the test until the reading is stable.
Step 4: Run the 2-minute test
Record the start pressure, then monitor for the full two-minute test without disturbing the connections. Note the final pressure and work out the drop. Edition 4 defines "perceptible movement" precisely — more than 0.2 mbar on a high-resolution electronic gauge (0.25 mbar on a water gauge) — which is exactly why resolution matters more than headline range for this job.
Step 5: Judge against the permissible drop
Under Edition 4 the permissible drop is based on the Installation Volume (IV): for natural gas it ranges from 8 mbar (IV ≤ 0.005 m³) down to 1 mbar (IV over 0.015 and up to 0.035 m³), with a mandatory pipework-only retest where appliances are connected. Calculate the IV, compare your drop to the correct band, and never round a reading to force a pass.
Step 6: Pass, fail or recommission
If it passes and there is no smell of gas, document the readings and recommission — then confirm the working pressure at the meter outlet sits within the IGEM/G/13 band of 18.5–23 mbar with appliances running. If it fails, isolate, trace the leak by approved means and retest before returning the installation to service.
Common mistakes that cause call-backs
- Appliances still live — even small demand can mask a leak.
- Testing before it stabilises — temperature and hose settling skew early readings.
- Perished hose ends — the leak is in your kit.
- Range too wide — an oversized range throws away resolution where you need it.
- Vague notes — record the let-by, start/end pressures, test pressure and IV.
For choosing the right differential instrument, see our differential pressure gauge guide, and to compare testers across a team our gas pressure tester buying guide.
Frequently Asked Questions
How long does a gas tightness test take?
The core test is a 1-minute stabilisation plus a 2-minute test, after the let-by check. With connection, purging and paperwork, allow 15–20 minutes for a simple domestic job — more if you must fit a test point or trace a leak.
Can I use any pressure gauge for a tightness test?
No. You need suitable range, and crucially enough resolution to see movement of a fraction of a millibar. A high-pressure hydraulic gauge is not appropriate for this low-pressure work.
What is the difference between a let-by and a tightness test?
The let-by test (7–10 mbar) checks the Emergency Control Valve is sealing before you test. The tightness test (20–21 mbar for natural gas) then checks the isolated installation holds pressure within the permitted drop.
Recommissioning today?
ManometerGas digital gas manometer — ±0.3% FS, −100 to 200 kPa, supplied with hoses and fittings. Free UK delivery.
View the Digital Gas Manometer — £121.15